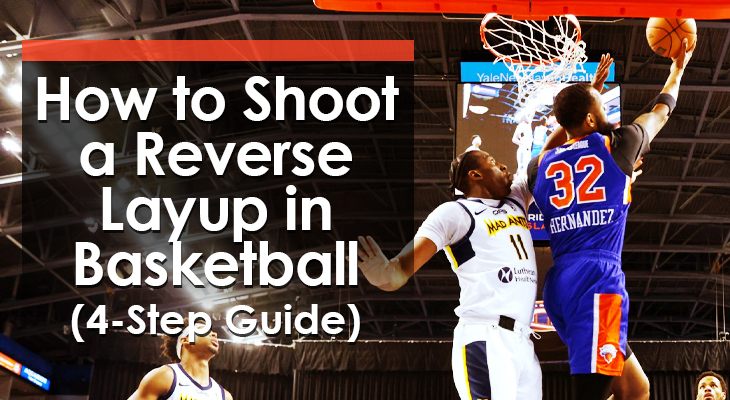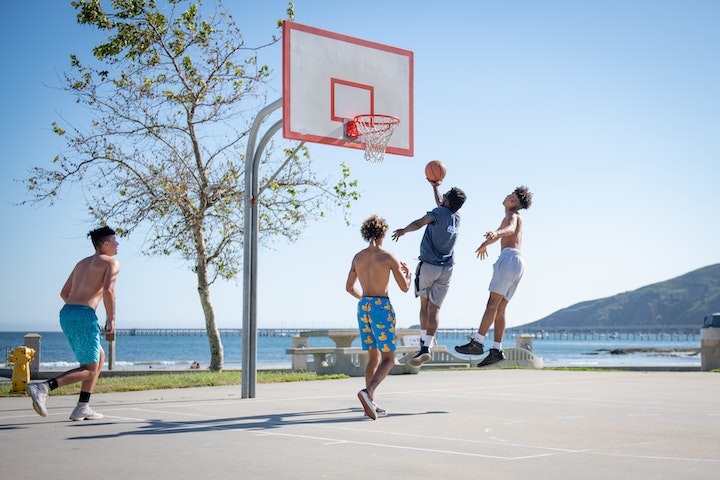
The hanging, spinning reverse layup has found its way into the highlight reels of some of the world’s most gifted stars.
A staple of Kobe Bryant’s slashing drives to the hoop, the reverse flummoxes big men and is an indispensable move for shorter players driving into the paint.
When done correctly, the reverse layup is virtually unblockable and can be executed in tight areas in the blink of an eye.
When to Use a Reverse Layup:
The reverse layup is the best way to counter larger defenders near the rim.
In these scenarios, a traditional layup would have a high probability of being blocked.
The reverse layup allows the ball handler to use the rim and their body as a screen, blocking off the rim protector and getting the ball off the backboard quickly.
It does have a higher degree of difficulty than a traditional layup and requires superb body control and tight footwork, so it should only be utilized when necessary.
How to Do a Reverse Layup:
Step #1: Drive to the Basket
A reverse layup is best done with some momentum behind it to carry you to the other side of the rim once you jump.
While it is possible to perform a reverse on a straight line drive to the front of the rim, it’s more effective and easily executed on drives along the baseline or at an angle.
You need a clear lane to the hoop, so beating your man one-on-one is vital.
Getting them on your hip helps shield the ball and adds an extra element they must go through to alter your shot without committing a foul.
Step #2: Beat the Rim Protector Baseline
Regardless of your angle of attack, the reverse is best done when you have the inside step on the defender and can beat them to the baseline side.
This makes it easier to use the rim as a screener to prevent your layup from being blocked.
Step #3: Jump off Your Baseline Foot
A traditional reverse layup involves players jumping off the foot closest to the baseline.
The reverse layup is all about improvisation, however...
Perhaps the rim protector was late rotating over, causing the shooter to change their shot in mid air. While it’s my preference to take off the baseline foot, it is worth practicing both approaches.
More athletic players with larger vertical leaps may “show “ the ball on the near side of the rim before transferring the ball to the other side.
This gives the appearance that the player is going up for a traditional layup, causing the defender to commit, opening up the far side of the rim, and increasing the likelihood of drawing a foul.
Step #4: Locate the Square on the Backboard
The most challenging aspect for beginners, a reverse layup can be disorienting as your angle to the hoop and backboard changes.
Many players have the instinct to look down at the ball as they jump…
But instead, they should incline their head backward as they travel under the rim, looking for the top of the square on the backboard.
More practiced players can put additional spin on the ball, allowing them to release their shot later and from different angles to make it even harder for defenders to stop.
With all your momentum taking you away from the rim, transferring your energy up and generating a soft kiss off the backboard is difficult.
Like a traditional layup, get the ball high off the glass to create the largest target and margin for error. Shoot with the hand furthest from the hoop, the right hand on the right side, left on the left.
Common Reverse Layup Mistakes
#1 - Losing Track of Where You Are
Understanding your location on the floor is vital to mastering the reverse layup.
Yet as the driver attacks the rim, it’s easy to lose where the hoop is.
While repetition is invaluable, using the markers on the floor can help immensely.
Teach players how to locate themselves by where they are in relation to the blocks on either side of the lane, and emphasize how much room there is between the baseline and the backboard.
It’s more space than you think and getting pinned to the baseline can leave the ball handler with nowhere to go and in a perfect location to get trapped, leading to turnovers and a fast break the other way.
#2 - Too Much Spin
The highlight worthy appeal of the reverse layup easily seduces players to add an extra twirl or flick of the ball as they shoot for added style points.
But this is a difficult enough shot to master under normal circumstances.
Stress the difficulty and discourage motions that add unnecessary challenges.
Further Reading: Why Players Miss So Many Layups (And How to Fix It)
Reverse Layup Drills:
Drill #1: Mikan Spins
Stand directly beneath the hoop with a ball held above your head.
Alternating sides, jump straight up, reaching out to the side of the backboard with the ball.
See how far off the square you can flick the ball and still make a basket.
Land and attempt the same shot on the other side.
Continue alternating sides, getting shots up as quickly as you can.
In addition to improving touch and a feel for how much spin is required to finish the shot, the hectic pace helps stimulate the disorientating feeling experienced in game.
Drill #2: Drive Reverse
Place a cone at the elbow and another near the block, just outside the paint.
Practice various dribble moves to create separation and drive to the outside of both cones.
Don’t allow the driver to enter the paint until past the second cone to simulate a crowded paint with multiple defenders. Practice multiple approaches by moving the cones to change the angle.
Further Reading: 5 Layup Drills You Must Use Next Practice

Conclusion
While a very difficult shot, the reverse layup is a vital tool for guards and wings to master, particularly undersized players that have trouble challenging taller defenders at the rim.
When combined with the floater and pull up jumper, it gives guards a trio of shots in their tool chest to use against large rim protectors to stave off thunderous rejections.
